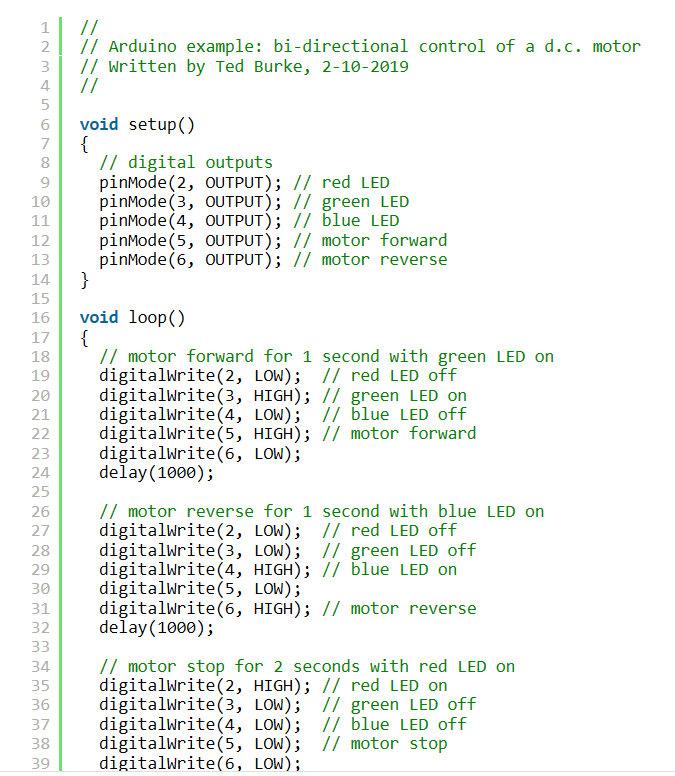
Week two began with building the first part of the circuit that will be connected to the battery pack and the motors. The battery pack must be connected in order for the motors to work at a significant rate. The following coding (FIG5) was first applied to the Arduino apparatus that would allow for the robot to move forward for 2 seconds, move backwards for 1 second, then stop for 5 seconds and then looping over. This allowed for the robot to be able to move bi-directionally.
Next the two motors needed wires soldered to them in order to be connected to the circuit. once the wires are soldered to the motors they are then taped back over the motors to make it easier for completing the robot in the long run. In FIG6 you can see how the battery pack and the motors are connected to the breadboard.
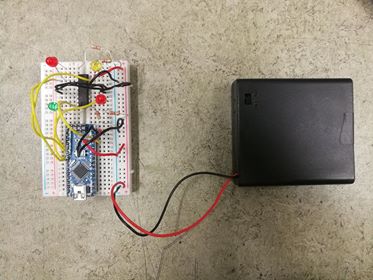
Next we uploaded the coding from FIG5 to the Arduino and the circuit in order to complete our bi-directional feature of the robot. With this completed it meant we had our motors working and a huge step towards the completed tip the can robot for week 5.
 Adam's RoboSumo